How to Check the Voltage on a Submersible Well Pump?
How to check the voltage on a submersible well pump? Checking the voltage on your submersible well pump is crucial for proper functionality.
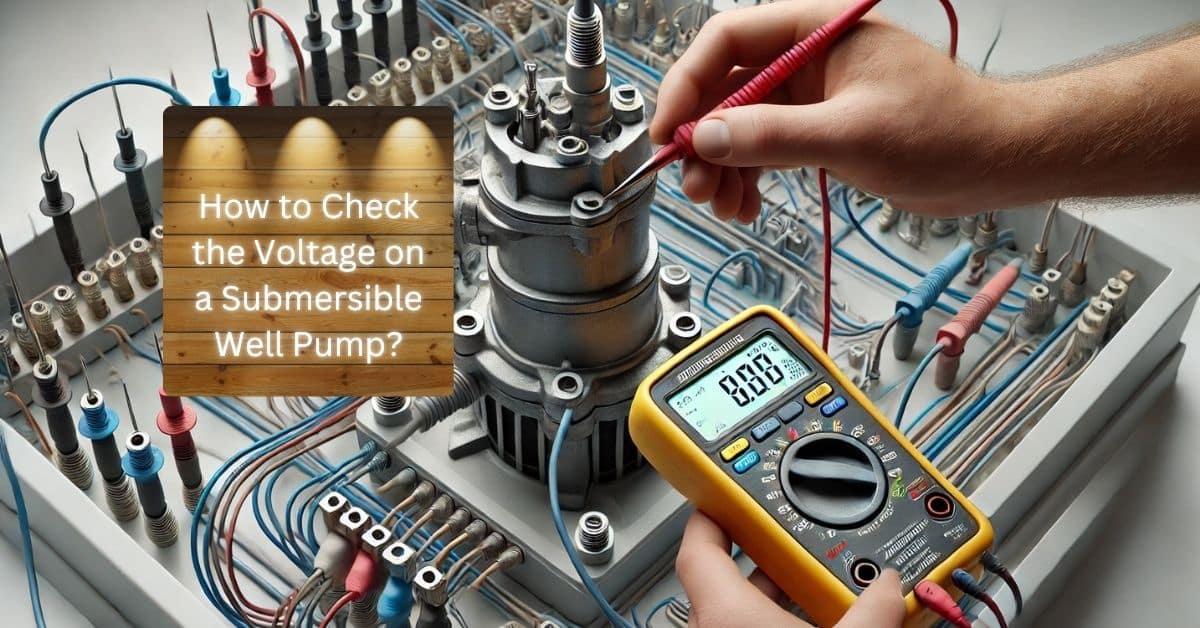
Checking the voltage on your submersible well pump is crucial for proper functionality. To ensure your pump is running smoothly, you’ll want to measure the voltage coming from the control box to avoid any disruptions in water supply. I know how frustrating it can be when you’re left without water, and a simple voltage check might reveal the issue.
Before diving into the voltmeter readings, safety is paramount. Make sure to turn off power to the pump and take the necessary precautions. I’ll guide you through examining your equipment, ensuring you’re prepared to tackle this task confidently, leaving no room for surprises.
This isn’t just about fixing problems; it’s about understanding how your system works and maintaining it to avoid future issues. Let’s get started on mastering voltage checks and keeping your well water flowing without a hitch.
Key Takeaways
- Knowing how to check voltage can prevent unexpected pump failures.
- Safety measures are essential before performing any electrical checks.
- Regular maintenance can extend the life of your submersible well pump.
Understanding Your Submersible Well Pump
I’ve spent many hours working with submersible well pumps, and I know they play a crucial role in our water supply. These pumps sit deep underwater, using a motor that pushes water up through a pipe.
One key factor to consider is the horsepower (HP) of your pump. It indicates how much power the pump has to move water efficiently. More horsepower means it can pump more water in less time.
When evaluating pump performance, keep an eye on the voltage. Most submersible pumps operate between 120 to 240 volts, depending on the model. Matching the pump’s voltage to your power supply is essential for smooth operation.
Submersible pumps are typically durable, but they can face issues if not properly monitored. Regular checks ensure they’re running efficiently, maintaining a steady water supply, and preventing costly repairs.
Here’s a quick list of things to remember:
- Calculate your water needs to select the right pump.
- Check your pump’s horsepower for adequate power.
- Monitor voltage levels to prevent pump failure.
- Keep an eye on any unusual noises or vibrations.
Safety First – Preparing to Check Voltage
Before I start checking the voltage on a submersible well pump, I need to prioritize safety. This involves two key steps: shutting off the power supply and gathering the right tools. Taking these precautions will help prevent electrical shocks and ensure accurate readings.
Shutting Off Power
The first step is to turn off the power to the well pump. I always begin by locating the circuit breaker that controls the pump. It’s important that I switch it off completely. This minimizes the risk of accidental electrical flow while I’m working.
Next, I ensure that the electrical connections are not live by using a multimeter. I set the multimeter to measure AC voltage and probe the wires carefully. If the meter doesn’t register any voltage, I can be more confident that it’s safe to proceed. Remember, safety isn’t just a one-time act; it’s a mindset I carry throughout the entire process.
Gathering the Right Tools
Having the right tools on hand is crucial. I always make sure I have a multimeter, gloves, and safety goggles ready. The multimeter is my primary tool for checking voltage, and it needs to be in good condition. I check that the leads are intact and the battery is charged.
Wearing gloves and safety goggles is non-negotiable for me. These protect against accidental shocks and any potential debris while working. I also keep a flashlight handy. It helps me see any dimly lit areas around the pump. Staying organized and prepared reduces risks and increases my efficiency.
Voltage Checks – Starting with the Basics
When checking the voltage on your submersible well pump, it’s crucial to use the right tools and understand the readings. I’ll guide you through using a multimeter and how to interpret the results you get.
Reading the Voltage with a Multimeter
To start, I grab my trusty multimeter. It’s essential for measuring voltage accurately. First, I make sure the multimeter is set to the correct voltage range. For most well pumps, it’ll be either 110V or 220V.
Next, I turn off the power to the pump before connecting the leads. I connect the black lead to the ground and the red lead to the pump’s power input. After double-checking my connections, I turn the power back on and take my reading. It’s important that I see a steady voltage reading on the display. If I see fluctuations, it could indicate a problem in the electrical supply.
Interpreting Voltage and Amperage Readings
Once I have the voltage reading, I don’t stop there. I also check the amperage, or current draw. This lets me know how much current is flowing to the pump while it’s running. For this, I switch to the amperage setting on the multimeter.
I place the multimeter in series with the pump’s power line. A reading that’s too high or too low can signal an issue. If the amps are significantly above the normal range, it may mean the pump is working harder than it should. This could lead to failure down the road.
Regularly checking these readings helps ensure my pump runs efficiently and lasts longer.
Examining the Control Box
When checking the voltage on a submersible well pump, I always start by examining the control box. This box is crucial for controlling the pump’s operation. I pay close attention to its components and how they work together to ensure everything runs smoothly.
Understanding Control Box Functions
The control box plays a significant role in the operation of a 3 wire submersible well pump. It houses important parts like the pressure switch and the relay. The pressure switch detects water levels and signals the pump to turn on or off.
I often check the wiring connections inside the control box. These connections should be secure to avoid any electrical issues. If I find loose wires, I make sure to tighten them. Additionally, the control box should have fuses or circuit breakers that protect the pump from overload.
Troubleshooting Control Box Issues
If I encounter problems with the submersible pump, the control box is often the first place I investigate. I start by checking for obvious signs of damage, like burnt wires or scorch marks. These could indicate overheating or a short circuit.
Next, I test the voltage at the input and output terminals of the pressure switch. Using a voltmeter, I ensure the readings match the pump’s specifications. If the readings are low or inconsistent, it’s a sign something may be wrong.
I also evaluate the relays inside the control box. If they’re faulty, they won’t properly control the pump, leading to performance issues. If everything checks out but the pump still won’t run, I may need to replace the control box itself.
Investigating Pressure Switch and Pressure Gauge
In this section, I will look into how to test a pressure switch and read a pressure gauge. These tools are crucial for managing water pressure in your submersible well pump.
Testing Pressure Switch Operations
First, I turn off the power to the well pump. Safety is paramount when working with electrical components. I locate the pressure switch, often found near the pressure tank.
Next, I remove the cover to access the terminals. With a multimeter, I check for continuity. A properly functioning switch should show continuity when at the set pressure. If I find low water pressure, I may have to adjust the switch settings or replace it.
Finally, I observe if the pressure switch opens and closes as pressure changes. It should consistently respond to the water pressure in the system, ensuring reliable operation.
Reading and Assessing the Pressure Gauge
Once the pressure switch is functioning correctly, I turn my attention to the pressure gauge. This gauge provides vital information about the water pressure levels in my system.
I check the gauge for accuracy, ensuring it reads in the proper range. A healthy pressure reading typically falls between 40 and 60 PSI. If I notice low pressure readings, it could indicate issues with the pump or the switch.
It’s important to look for steady readings during operation. Fluctuations may signal problems that need addressing. Regularly monitoring the gauge helps me maintain optimal performance and prevent future water pressure issues.
Wiring Insights – Measurements and Calculations
Understanding the wiring of your submersible well pump is crucial. Knowing how to check for integrity and calculate wire resistance can save you time and money. Here’s how I go about these important tasks.
Checking Wiring Integrity
First things first, I always check the wiring to ensure everything is in good shape. I look for any visible signs of wear, fraying, or damage to the insulation. A damaged wire can lead to serious issues, including pump failure.
Next, I use an ohmmeter to test the wiring. Before starting, I turn off the power to the pump for safety. I connect one probe to a wire and the other to the ground. If the reading is OL (Open Lead), it indicates a break in the wire.
It’s also important to check the connections against a well pump wiring diagram. This ensures that every wire is connected properly, preventing future headaches. I take my time during this inspection—it’s worth the extra effort.
Calculating Wire Resistance
Calculating wire resistance is another step I never skip. Knowing the resistance helps me understand how efficiently power flows through the wires. For this, I use a wire resistance calculator to get accurate numbers.
The formula for calculating resistance (R) is:
[ R = \frac{\rho \times L}{A} ]
Where:
- ( R ) = Resistance in ohms
- ( \rho ) = Resistivity of the material (copper is a common choice)
- ( L ) = Length of the wire
- ( A ) = Cross-sectional area (depends on wire size)
I always refer to wire size charts to determine the proper area. By keeping an eye on insulation resistance, I can further ensure the wires are up to standard. Adequate resistance prevents overheating and potential failure, keeping my well pump in prime working condition.
Preventative Maintenance Practices
To ensure your submersible well pump runs smoothly, start with routine checks. Inspect electrical connections for wear and corrosion. Loose or damaged wiring can lead to power issues. Additionally, inspect the control box and ensure proper sealing to prevent moisture entry.
Regularly change the filter if your pump has one. This helps keep contaminants out of the water supply, promoting better performance. Check the pressure switch every few months. An unresponsive switch may cause water flow problems.
Also, set a schedule to measure water levels and flow rates. Keeping track of these metrics helps identify any drops in performance early. Regular maintenance saves time and money in the long run.
Handling Common Troubleshooting Scenarios
When issues arise, knowing how to troubleshoot can save you a headache. If the pump isn’t delivering water, the first step is to check the power supply. Ensure that all electrical connections are secure. If the pump is silent, that could mean a problem in the motor or wiring.
Next, check the pressure switch. A faulty switch can prevent the pump from turning on. If you notice low water pressure, there might be a clog in the impeller. I recommend clearing any debris that could restrict water flow.
Always keep an eye on the pump’s amp draw. If it’s too high or too low, there could be a motor issue. Lastly, consult your manufacturer’s manual for specific troubleshooting steps catered to your model.
When to Seek Professional Help
Sometimes, checking the voltage of a submersible well pump can reveal issues, but there are moments when calling in an expert is the best decision. Recognizing the right time to seek professional help can save time, ensure safety, and prevent further damage to your system.
Identifying Problems Beyond DIY
If I notice no water coming from my taps, it’s a red flag. I may troubleshoot the basics first, like checking the power and circuit breakers. However, if the pump is making strange noises or continues to malfunction after I’ve done my part, it’s time to call a professional.
Certain issues, like a faulty check valve or damaged wiring, require more than just a basic fix. These problems could extend beyond my skills and need specific tools and expertise. If there’s a blown fuse that keeps recurring or if the pump stops operating entirely, don’t hesitate. Getting a pro involved can ensure my water system is not just fixed, but also operating efficiently and safely.
The Importance of Expertise in Complex Repairs
When fixing submersible well pumps, experienced professionals know what’s at stake. Even small mistakes can lead to bigger problems, like expensive repairs or unsafe conditions. These experts bring not only the right tools but also knowledge of local regulations and best practices.
Complex repairs often involve different parts of the system, and understanding how they work together is crucial. A professional can assess and diagnose the issue accurately. I might plan to DIY some tasks, but if I hit a wall, trusting an expert can save me from a lot of headaches in the long run. It’s about knowing my limits and ensuring my home runs smoothly.
Advantages and Limitations of Submersible Pumps vs. Jet Pumps
When considering submersible pumps and jet pumps, there are clear advantages and limitations with each type.
Submersible Pumps
- Advantages: They sit below the water level, allowing for higher water flow rates. This makes them efficient for deep wells, often capable of reaching depths up to 400 feet. Plus, they tend to be quieter during pump operation.
- Limitations: Installation can be tricky and more costly because they must be placed deep in the well. Repairs also require pulling the pump out, which isn’t always easy.
Jet Pumps
- Advantages: Jet pumps are installed above ground. This makes them easier to access for maintenance and repairs. They tend to be cheaper to install and work well for shallow wells.
- Limitations: Their suction-based operation can struggle with deeper water levels, typically working best in wells under 25 feet deep. This might limit your water flow if you need more from deeper sources.
In my experience, the choice between these pumps often comes down to specific needs, like well depth and ease of maintenance. Each type has its place depending on your situation. Understanding each pump’s strengths helps you make the right decision.
Frequently Asked Questions
I often hear a few common questions about checking the voltage on submersible well pumps. Let’s dive into the specifics to help you understand what to do when your pump isn’t working as it should.
How can you tell if your well pump is receiving the proper power?
To check if your well pump is receiving the right power, I start by inspecting the electrical connections. If you have a multimeter, you can measure the voltage at the terminal box. A reading that matches the pump’s specifications in the manual indicates it’s getting proper power.
What steps are involved in testing a submersible pump using a multimeter?
First, ensure the power is off to avoid any accidents. Then, set your multimeter to the appropriate voltage. Connect the probes to the pump wires as per the manual. Check for a voltage reading that matches what’s required for your specific pump.
How do you diagnose a faulty submersible well pump without removing it from the well?
I look for signs of trouble like odd noises, frequent cycling, or no water flow. I also check the pressure tank and plumbing for leaks. These indicators often point to issues that may not require removal.
Could you walk through the standard submersible pump testing process?
Certainly! Start by turning off the power and checking all electrical connections. Then, use a multimeter to measure voltage at the pump. If everything checks out, look for any clogs or blockages in the system.
How can you differentiate between a 110V and a 220V submersible well pump?
Typically, a 110V pump will have a smaller power cord and usually requires a standard outlet. A 220V pump, on the other hand, requires a special connection and has a larger, more robust wiring. Always refer to the pump’s manual for clarity.
What is the minimum voltage requirement to ensure a submersible pump operates effectively?
For most submersible pumps, the minimum voltage is often around 10% lower than the rated voltage. If your pump is rated for 230V, it should still run efficiently down to about 207V. Keeping the voltage in this range is essential for optimal performance.

Thomas Peterson
Owner WSA
About the Author
Latest Posts
Born and raised in Nanaimo on Vancouver Island. Thomas gained a deep appreciation for the importance of clean, reliable water. With over 15 years of experience working with water treatment systems, Thomas has become a trusted expert in helping local homeowners and businesses resolve the unique challenges of well water across the Island.
From hard water and iron buildup to low water pressure and sediment issues, Thomas takes a practical, no-nonsense approach to solving water problems. Whether it’s installing filtration systems or troubleshooting well pump issues, Thomas focuses on long-lasting solutions that help people get the clean, safe water they need.
As a proud local professional, Thomas is dedicated to serving his community with honesty, quality service, and expert advice tailored to the water conditions of Vancouver Island.
Areas of Expertise: Well Service, Well Pumps, Water Filtration Systems
- Clack Water Softener Alternatives: Top Systems for Hard Water Treatment in 2025 November 8, 2025
- Best Well Water Test Kit Options for Safe Home Water Testing in 2025 November 5, 2025
- Best Well Water TDS Meter for Accurate Home Testing in 2025 November 1, 2025
- Best Well Water Sediment Filter Systems for Clean Home Water in 2025 October 29, 2025
- Best Well Water Saltless Water Softener Systems for 2025 October 26, 2025
Facebook Twitter LinkedIn Instagram Reddit
Fact Checked & Editorial Guidelines
Our Fact Checking Process
We prioritize accuracy and integrity in our content. Here’s how we maintain high standards:
- Expert Review: All articles are reviewed by subject matter experts.
- Source Validation: Information is backed by credible, up-to-date sources.
- Transparency: We clearly cite references and disclose potential conflicts.
Your trust is important. Learn more about our fact checking process and editorial policy.
Reviewed by: Subject Matter Experts
Our Review Board
Our content is carefully reviewed by experienced professionals to ensure accuracy and relevance.
- Qualified Experts: Each article is assessed by specialists with field-specific knowledge.
- Up-to-date Insights: We incorporate the latest research, trends, and standards.
- Commitment to Quality: Reviewers ensure clarity, correctness, and completeness.
Look for the expert-reviewed label to read content you can trust.