What is a 3 Wire Well Pump? Function and Benefits Explained
What is a 3 wire well pump? This type of submersible well pump uses three wires: two for power and one for the control signal, providing better performance.
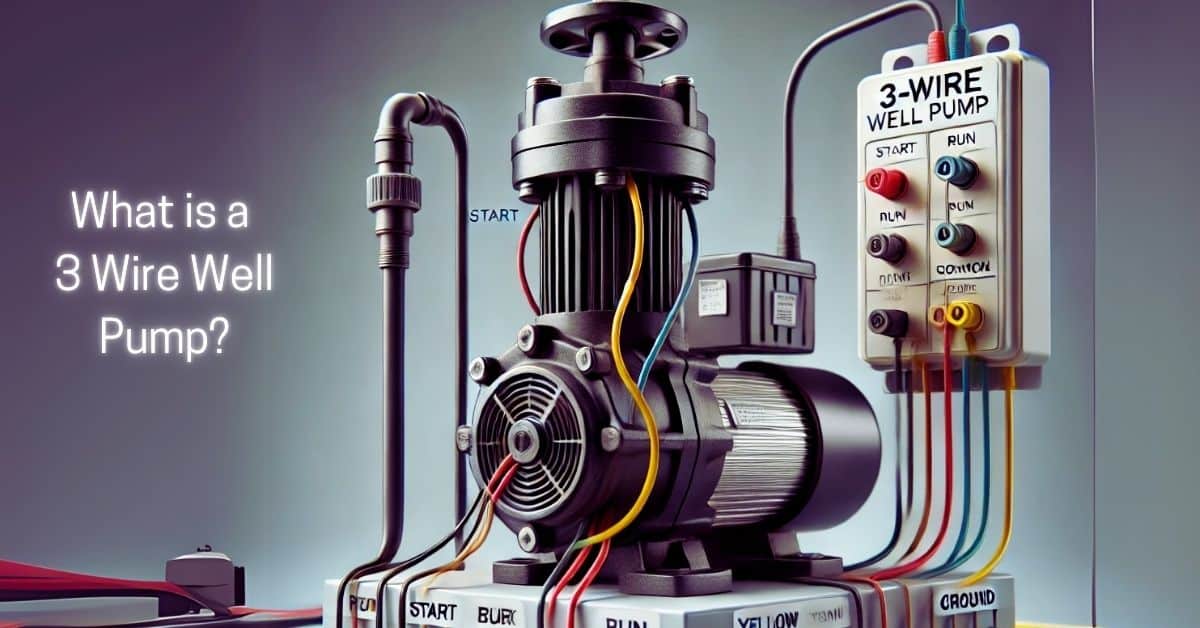
When drawing water from deep underground, a 3-wire well pump is an important piece of equipment. This type of submersible well pump uses three wires: two for power and one for the control signal, providing better performance and reliability. Understanding how this system works can help you make informed decisions about installing or maintaining a well pump.
I’ve seen many homeowners struggle with well pumps, leading to frustration and costly repairs. That’s why I believe it’s crucial to know the ins and outs of a 3-wire well pump. From its anatomy to installation essentials and practical tips for maintenance, having the right knowledge can empower you to safeguard your investment and keep your water supply running smoothly.
Whether you’re a DIY enthusiast or looking to hire a professional, understanding the workings of a 3-wire well pump can save you time and money. In this article, I’ll share everything I’ve learned about these pumps, so you can make the best choices for your property.
Key Takeaways
- A 3-wire well pump offers enhanced control and efficiency for water extraction.
- Regular maintenance is key to prolonging the life of your submersible well pump.
- Knowing the installation essentials can prevent costly mistakes and repairs.
Understanding Well Pumps
Well pumps play a crucial role in supplying water from underground sources. It’s important to know the types available and the key components, especially when comparing different systems like 3-wire and 2-wire pumps.
Types of Well Pumps
There are several types of well pumps, but the most common ones I encounter are submersible and jet pumps.
Submersible pumps sit underwater, pushing water to the surface. They are typically efficient and suitable for deep wells. Jet pumps, on the other hand, are often installed above ground. They use suction to draw water up from shallow wells.
When choosing a pump, I look at factors like depth, flow rate, and the water’s quality. Each type has its advantages, and understanding these can help prevent expensive mistakes.
3-Wire vs. 2-Wire Pumps
The differences between 2-wire and 3-wire pumps are essential for anyone considering a new well pump. A 2-wire pump has two wires plus a ground. The starting components, such as the capacitor, are located inside the pump motor. This makes installation straightforward but can lead to complete motor replacement if there’s a failure.
In contrast, a 3-wire pump comes with an additional wire connected to a control box. This setup allows for better control and can save money in the long run. If a 3-wire pump’s starting capacitor fails, only the control box needs replacing, not the entire pump. While the upfront cost might be higher, I find the long-term savings worth it.
Key Components of a 3-Wire Well Pump
When I examine a 3-wire well pump, several key components stand out. The pump motor is located deep in the well, connected by three wires. The additional wire links to a control box, usually placed above ground. This box regulates electrical flow and manages the pump’s operation.
Another important part is the pressure tank. Positioned above ground, it helps maintain consistent water pressure. This allows for smoother operation and protects the pump from frequent cycling.
Installation can be a bit complex, but understanding these parts makes it easier for me to choose the right pump. In my experience, a solid understanding of these components ensures a reliable water supply and the system’s longevity.
Anatomy of a 3-Wire Well Pump
A 3-wire well pump system consists of essential components that work together for efficient water delivery. Each part, from the motor to the control box, plays a critical role in making sure the pump operates smoothly.
Pump Motor and Power Supply
The heart of a 3-wire submersible pump is its motor. This motor transforms electrical energy from the power supply into mechanical energy, allowing the pump to draw water from the well.
Typically, these motors are designed to run on either 115 or 230 volts, depending on the installation. The hot wire delivers power to the motor while the neutral wire completes the circuit back to the power supply.
A properly functioning motor can run for years if maintained well. If issues arise, it’s often due to electrical problems or wear and tear over time.
The Control Box
The control box is like the brain of the pumping system. It connects the pump motor to the power supply and manages the motor’s operation. This box contains important components like relays and start capacitors that help the motor start and run efficiently.
The relay switches the motor on and off, controlling its operation according to the demand for water. If the relay fails, the pump won’t work. Meanwhile, the start capacitor gives the motor an extra push when powering up, ensuring it gets going smoothly.
Proper placement and protection of the control box are crucial, as moisture and dust can impact its performance.
Starting Components
Starting components are vital in ensuring the pump runs correctly from the moment you flick the switch. In a 3-wire system, these include the start capacitor and relay, both found inside the control box.
The start capacitor provides the necessary boost for the motor to overcome initial resistance when starting. If this part fails, the pump may struggle or not start at all.
The relay plays its part by connecting or disconnecting power to the pump depending on the water level and demand. If you’ve ever heard clicking noises from the control box, that’s the relay in action, managing the pump’s operation.
In summary, I rely on these components to ensure my well pump works efficiently and lasts for years.
Installation Essentials
When I tackle the installation of a 3-wire well pump, I make sure to cover critical areas: piping and wiring, choosing the right pump, and ensuring proper grounding. Each aspect plays a vital role in the pump’s overall effectiveness and safety.
Piping and Wiring Requirements
To get started, proper piping and wiring are essential for a successful installation. I make sure to use pipes that can withstand the pressure of water and are rated for underground use. Schedule 40 PVC is often a reliable choice for submersible pumps.
When it comes to wiring, I pay attention to the gauge. For a 3-wire pump, the typical configuration includes one wire for power, one for the start capacitor, and the third for the ground. I always refer to the wiring diagram for clarity. Additionally, I ensure that all connections are secure to prevent water ingress, which could damage the wiring.
Selecting the Correct Well Pump
Choosing the right well pump is key to lasting performance. I consider factors like the depth of the well, the flow rate needed, and the overall dimensions of the pump. For deeper installations, I often opt for a 3-wire submersible pump, as it tends to handle heavy lifting better than a 2-wire model.
Checking the manufacturer’s specifications can save a lot of headaches down the road. I ensure that the pump’s horsepower matches my water needs. Selecting the right pump will lead to easier maintenance and efficiency. This means fewer repairs and a longer lifespan.
Grounding and Lightning Protection
Grounding the pump isn’t just a good idea; it’s a critical safety measure. I always ensure that my installation has a dedicated ground wire. This helps prevent electrical shocks and protects the pump from voltage surges.
In regions prone to storms, I also recommend installing a lightning protection system. These systems can divert excess electricity away from the pump, reducing the risk of damage. A simple grounding rod connected to your pump system can make a significant difference. Being proactive in these areas ensures not only the safety of the system but also its longevity.
Practical Tips for Maintenance and Troubleshooting
Maintaining a 3-wire well pump is essential for ensuring it runs efficiently. Troubleshooting common issues can help you save time and money. Here are my key tips for keeping your pump in great shape.
Regular Maintenance Procedures
I recommend checking your pump at least once a year. Start by inspecting the power supply and making sure the wiring is secure and free of corrosion. If you notice any frayed wires, replace them to avoid potential hazards.
Next, examine the well’s depth and the pump’s placement. Ideally, the pump should stay at least five feet above the well’s bottom to prevent debris from clogging it.
Flushing the system regularly can help maintain water quality. If you notice sediment buildup in your water, consider installing a filter at the pressure tank to protect your plumbing.
Common Issues and Fixes
I’ve encountered several common problems with 3-wire pumps. Low water pressure often points to a clogged filter or a malfunction in the pressure switch. I suggest checking these components first if you experience pressure drops.
Unusual noises coming from the pump can indicate internal wear or loose parts. Tightening the fittings may resolve the issue. If the noise persists, it could mean the pump is nearing the end of its lifespan.
If your pump stops working altogether, examine the control box. Issues here are common and can include faulty relays or compactor issues. Checking the voltage supply can also help determine the problem.
When to Call a Professional Installer
While DIY troubleshooting is valuable, there are times when calling a professional is a must. If your pump shows significant corrosion or damage that I cannot fix, it’s smarter to have an expert handle it.
Also, if you are unsure about the well’s depth or need to re-install the pump, it’s best to consult a professional installer. They have the right tools and expertise to ensure everything is set up safely and correctly.
Finally, if your home’s water quality shows sudden changes, a professional can perform a comprehensive test to identify any underlying issues affecting your domestic water supply.
Safeguarding Your Investment
Taking care of your 3-wire well pump is essential for ensuring it lasts. Proper maintenance and using quality components can keep your pump running smoothly and efficiently. Here’s what I’ve learned from my experience in the field.
Ensuring Longevity of the Well Pump
To get the most out of your submersible well pump, regular pump maintenance is key. I recommend checking it at least once a year. Look for any signs of wear and tear, such as leaks or odd noises.
You should also monitor the water flow. If you notice a drop in pressure, it could indicate a problem. Sometimes, something as simple as a clogged screen can be the culprit. Clean it regularly, and consider flushing the system to clear any build-up.
Proper installation is critical. If your pump isn’t installed right, it can lead to early failure. Always refer to your manual and hire a professional if you’re unsure.
The Importance of Choosing Quality Components
When it comes to well pumps, not all components are created equal. Investing in high-quality parts is crucial to your pump’s performance and lifespan. Using cheap materials may save money upfront but can lead to costly repairs.
Pay special attention to the electrical wiring. A 3-wire well pump uses a separate control box, so make sure you buy quality wiring and components. Poor-quality wires can lead to overheating or even failure.
Don’t forget about the pump itself. Look for trusted brands that offer warranties. This not only protects your investment but also ensures you have access to support if issues arise. In my experience, taking these steps can prevent headaches down the line.
Operational Insights
Understanding the operation of a 3-wire well pump is crucial for its effective use and maintenance. This section will explore how pressure controls work and considerations for energy efficiency.
Understanding Pump Pressure Controls
A 3-wire submersible pump relies on a pressure switch to manage water flow. The pressure switch works like a gatekeeper, turning the pump on when water pressure drops and off when it reaches the desired level.
This interaction is vital for maintaining a steady water supply. Proper adjustments to the pressure tank can enhance performance. The tank stores water and helps to stabilize pressure throughout the system.
When the pressure switch is set correctly, it extends the life of the pump by preventing unnecessary cycles. Being familiar with the pressure settings can save you time and money down the road.
Energy Efficiency Considerations
Using a 3-wire well pump can be energy-efficient if set up correctly. The right power source plays a significant role here. I typically recommend using a variable frequency drive (VFD) to control pump speed based on demand.
This approach not only saves energy but also reduces wear and tear on the pump. It’s essential to ensure that the pressure tank and switch are compatible with your power source to maximize efficiency.
Regular maintenance and checks on electrical components also contribute to better energy performance. For example, ensure that all wiring connections are secure and free of corrosion. Small steps like these can lead to significant savings on your energy bills.
Frequently Asked Questions
When working with a 3-wire well pump, it’s common to have questions about its wiring, functions, and any potential modifications. Let’s tackle those queries directly and clearly.
What’s the purpose of the extra wire in a 3-wire well pump setup, eh?
The third wire in a 3-wire well pump setup is crucial for proper operation. It helps with the electrical starting of the pump motor. This extra wire allows the use of a start capacitor, improving energy efficiency and starting torque.
How do ya wire up the control box for a 3-wire well pump, buddy?
Wiring the control box involves connecting the wires from the pump to the correct terminals in the box. Typically, the black wire connects to the power supply, the red wire connects to the start capacitor, and the yellow wire connects to the motor. Be sure to follow the manufacturer’s wiring diagram.
Can you show me a wiring diagram for installing a 220v 3-wire well pump?
While I can’t provide a diagram here, I recommend searching for one in reputable plumbing resources. A diagram will show you how to connect the wires properly to ensure safe and efficient operation. Check online guides that specifically cater to 220v applications for detailed visuals.
Is it possible to switch a 3-wire well pump to a 2-wire system, and if so, how?
Switching from a 3-wire to a 2-wire system is possible but not recommended without careful consideration. It usually involves removing the control box and directly connecting the pump to the power supply. You lose the benefits of the start capacitor, which may affect performance.
What are the key differences between 2-wire and 3-wire well pumps, eh?
The main difference lies in their wiring and functionality. A 2-wire pump has just two wires, needing no control box, which makes it simpler and cheaper. A 3-wire setup, on the other hand, typically provides better safety and reliability with its added start capacitor and control options.
What does the yellow wire connect to in a 3-wire well pump installation, friend?
In a 3-wire well pump installation, the yellow wire usually connects to the motor. Its purpose is to ensure proper communication with the control box, which helps manage the electrical flow and performance of the pump correctly. Always refer to the pump’s manual to confirm this connection.

Thomas Peterson
Owner WSA
About the Author
Latest Posts
Born and raised in Nanaimo on Vancouver Island. Thomas gained a deep appreciation for the importance of clean, reliable water. With over 15 years of experience working with water treatment systems, Thomas has become a trusted expert in helping local homeowners and businesses resolve the unique challenges of well water across the Island.
From hard water and iron buildup to low water pressure and sediment issues, Thomas takes a practical, no-nonsense approach to solving water problems. Whether it’s installing filtration systems or troubleshooting well pump issues, Thomas focuses on long-lasting solutions that help people get the clean, safe water they need.
As a proud local professional, Thomas is dedicated to serving his community with honesty, quality service, and expert advice tailored to the water conditions of Vancouver Island.
Areas of Expertise: Well Service, Well Pumps, Water Filtration Systems
- Clack Water Softener Alternatives: Top Systems for Hard Water Treatment in 2025 November 8, 2025
- Best Well Water Test Kit Options for Safe Home Water Testing in 2025 November 5, 2025
- Best Well Water TDS Meter for Accurate Home Testing in 2025 November 1, 2025
- Best Well Water Sediment Filter Systems for Clean Home Water in 2025 October 29, 2025
- Best Well Water Saltless Water Softener Systems for 2025 October 26, 2025
Facebook Twitter LinkedIn Instagram Reddit
Fact Checked & Editorial Guidelines
Our Fact Checking Process
We prioritize accuracy and integrity in our content. Here’s how we maintain high standards:
- Expert Review: All articles are reviewed by subject matter experts.
- Source Validation: Information is backed by credible, up-to-date sources.
- Transparency: We clearly cite references and disclose potential conflicts.
Your trust is important. Learn more about our fact checking process and editorial policy.
Reviewed by: Subject Matter Experts
Our Review Board
Our content is carefully reviewed by experienced professionals to ensure accuracy and relevance.
- Qualified Experts: Each article is assessed by specialists with field-specific knowledge.
- Up-to-date Insights: We incorporate the latest research, trends, and standards.
- Commitment to Quality: Reviewers ensure clarity, correctness, and completeness.
Look for the expert-reviewed label to read content you can trust.